painting your rocker cover
5 posters
Page 1 of 1
 painting your rocker cover
Here I'll be posting a step by step way to paint your rocker cover, which if done right can look pretty freakin sweet. i got these instructions from a guy at kawana autobarn whose a professional painter so if you've got any queries ask for the painter (i think his name is cameron).
first i'll put a list of all required materials.
1)rocker cover
2)rocker cover gasket
3)black FIPG silicone to reseal cover
4)heat resistant paint of choice
5)heavy degreaser
6)fine sand paper
7)scrubbing square ( same as a scower like in your kitchen you use to clean stains off dishes)
8)Primer (u can get paint which doesnt require primer)
9)A good ratchet set is also required
I've finally gotten around to doing this and i got a few pics along the way so if you want some help with yours just ask

Step 1) remove rocker cover
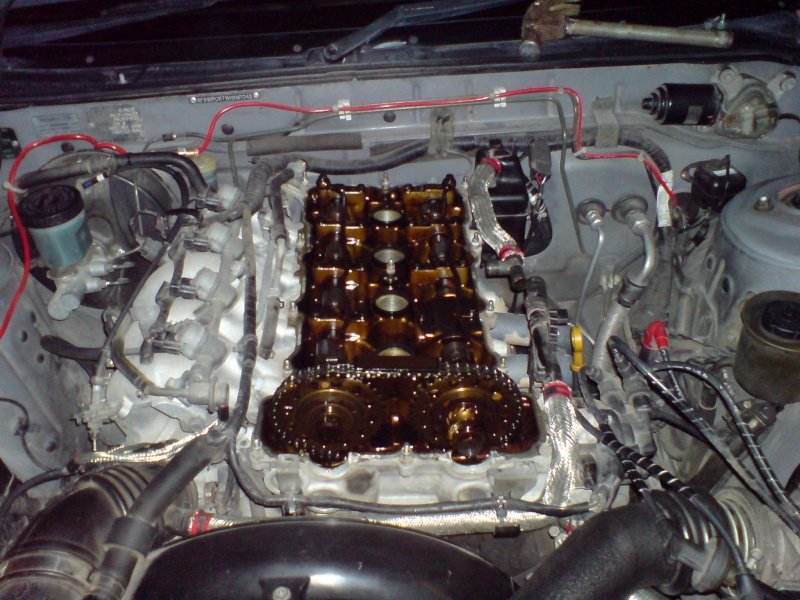
Step 2)take out old rocker cover gasket
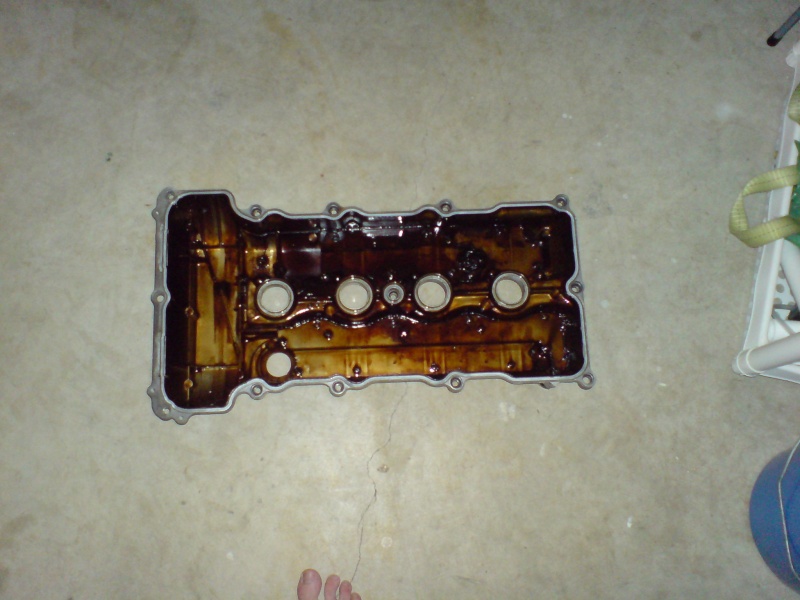
Step 3)clean rocker cover and the surface it sits on thoroughly being careful not to push any old sealant into the engine itself
Step 4)spray degreaser on cover and alow to soak in for about 5 - 10mins
Step 5)rinse off cover
Step 6)sand back cover getting into any small crevaces
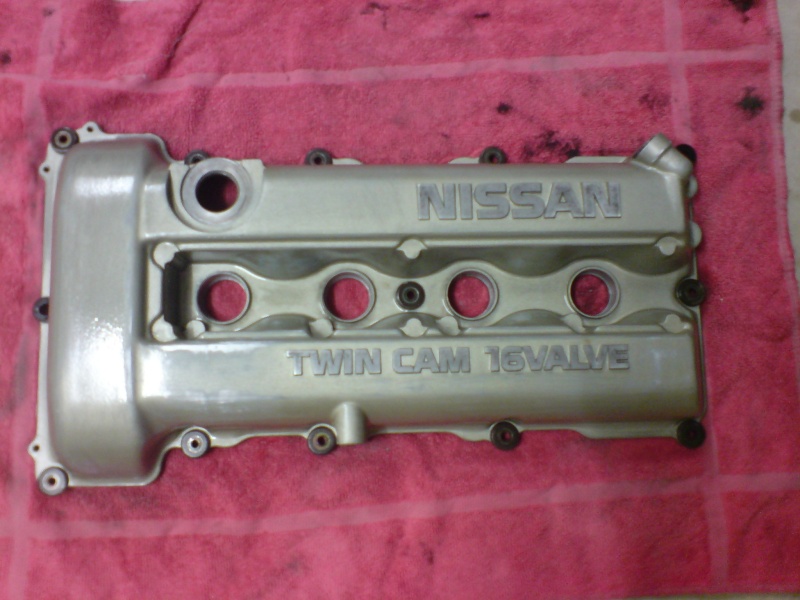
Step 7)apply your primer (if using self priming paint skip this step) follow instructions on bottle how to primer
Step 8)start spraying your cover with paint, do 3 - 5 really quick passes on the cover to form a small mist of paint on the cover, allow to dry for 5 - 10mins
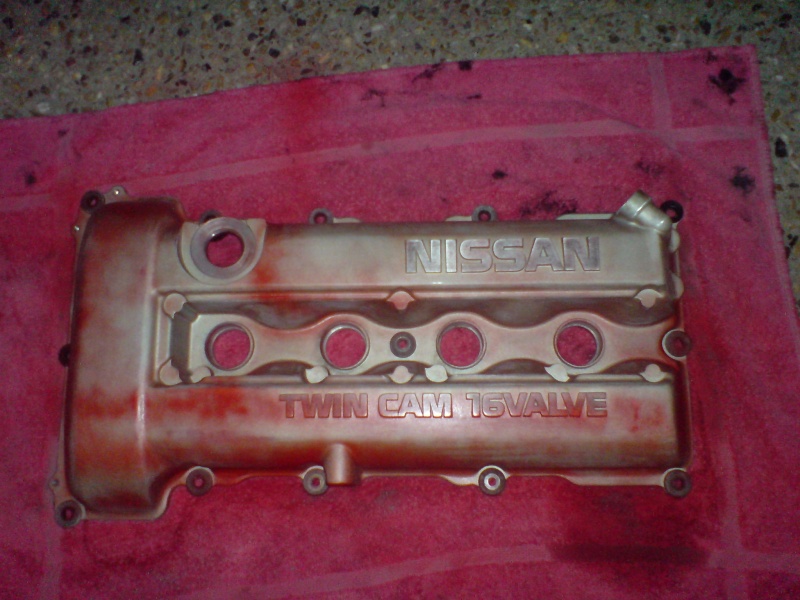
Step 9)start applying a heavy coat (not so much that it runs) pay close attention to any dips or crevaces where you'll have to adjust your spraying angle
Step 10)once rocker cover is suitably covered which an even layer of paint sit it out in the sun if possible for a full 24hours to allow for a proper dry.
Step 11)use scower sqaure to rub back the letters (i.e. 16 valve, nissan etc.) and blow off removed paint being careful not to remove any from the cover.
Step 12)put in new gasket to cover and place the FIPG silicone into the corners of the cover and at the beginnings of the semi circle/s for the dizzy oring/s.
Step 13)replace cover back on engine and secure tightly, (alot easier if you have an air ratchet)
Step 14)stand back and admire your handy work.
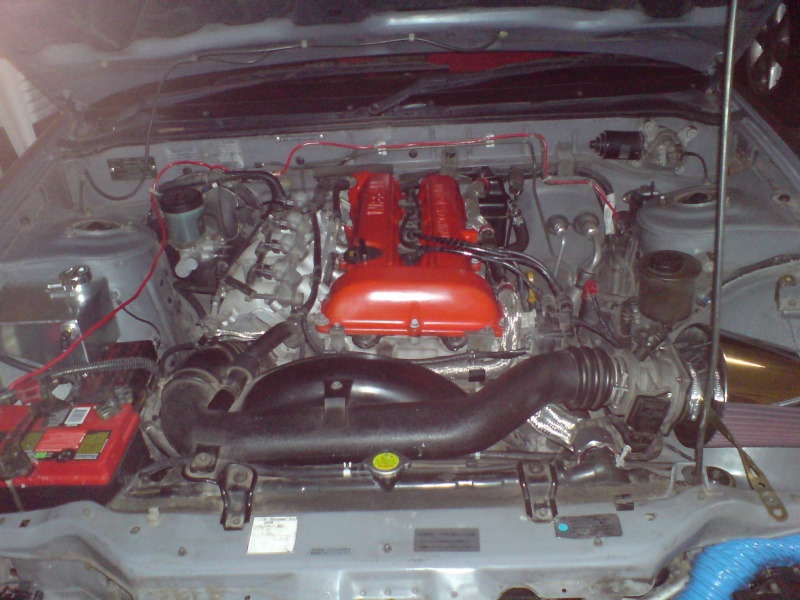
It wasn't a hard job except that repco gave me the wrong gasket and no one else had one haha. As i said i got my info off of cameron at autobarn who will paint yours for you for 100 bucks if you dont wana do it yourself, i got kinda lazy and didnt brush off my lettering but i think it still looks fine.
Goodluck!
first i'll put a list of all required materials.
1)rocker cover
2)rocker cover gasket
3)black FIPG silicone to reseal cover
4)heat resistant paint of choice
5)heavy degreaser
6)fine sand paper
7)scrubbing square ( same as a scower like in your kitchen you use to clean stains off dishes)
8)Primer (u can get paint which doesnt require primer)
9)A good ratchet set is also required
I've finally gotten around to doing this and i got a few pics along the way so if you want some help with yours just ask

Step 1) remove rocker cover

Step 2)take out old rocker cover gasket

Step 3)clean rocker cover and the surface it sits on thoroughly being careful not to push any old sealant into the engine itself
Step 4)spray degreaser on cover and alow to soak in for about 5 - 10mins
Step 5)rinse off cover
Step 6)sand back cover getting into any small crevaces

Step 7)apply your primer (if using self priming paint skip this step) follow instructions on bottle how to primer
Step 8)start spraying your cover with paint, do 3 - 5 really quick passes on the cover to form a small mist of paint on the cover, allow to dry for 5 - 10mins

Step 9)start applying a heavy coat (not so much that it runs) pay close attention to any dips or crevaces where you'll have to adjust your spraying angle
Step 10)once rocker cover is suitably covered which an even layer of paint sit it out in the sun if possible for a full 24hours to allow for a proper dry.
Step 11)use scower sqaure to rub back the letters (i.e. 16 valve, nissan etc.) and blow off removed paint being careful not to remove any from the cover.
Step 12)put in new gasket to cover and place the FIPG silicone into the corners of the cover and at the beginnings of the semi circle/s for the dizzy oring/s.
Step 13)replace cover back on engine and secure tightly, (alot easier if you have an air ratchet)
Step 14)stand back and admire your handy work.

It wasn't a hard job except that repco gave me the wrong gasket and no one else had one haha. As i said i got my info off of cameron at autobarn who will paint yours for you for 100 bucks if you dont wana do it yourself, i got kinda lazy and didnt brush off my lettering but i think it still looks fine.
Goodluck!
Last edited by S13 Davo on Sun Apr 13, 2008 4:22 am; edited 3 times in total (Reason for editing : pics and more info)

S13 Davo- P Plater

- Posts : 89
Join date : 2008-01-18
Age : 34
Location : mooloolaba
 Re: painting your rocker cover
good diy dave..
yer it'll be good to see some pictures when youv got it done!
yer it'll be good to see some pictures when youv got it done!
 Re: painting your rocker cover
pics are now up

S13 Davo- P Plater

- Posts : 89
Join date : 2008-01-18
Age : 34
Location : mooloolaba
 Re: painting your rocker cover
lol @ cameron being a professional painter. the dude with the home job matte black sil80
looks like absolute puss.
rocker cover looks good though mate, might give it a shot! thumbs up
looks like absolute puss.
rocker cover looks good though mate, might give it a shot! thumbs up
Sharpy- Member

- Posts : 2
Join date : 2008-07-27
Page 1 of 1
Permissions in this forum:
You cannot reply to topics in this forum